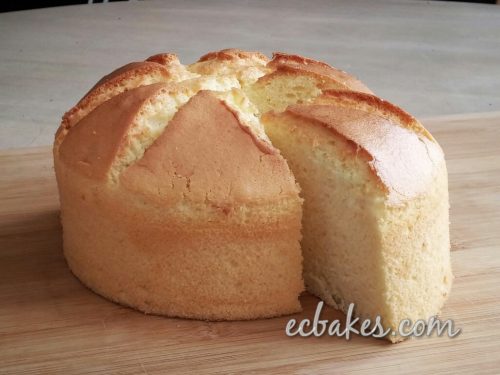
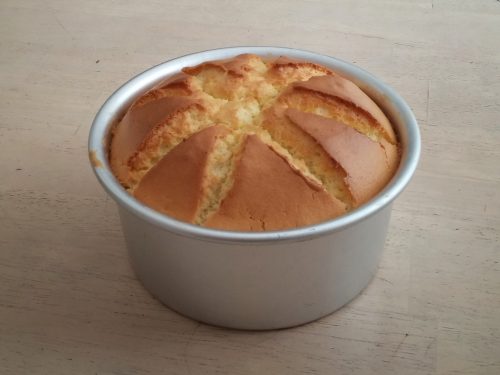
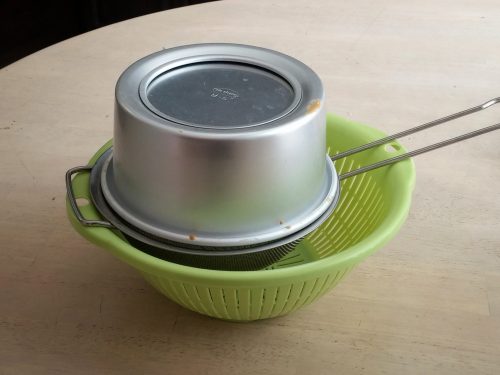
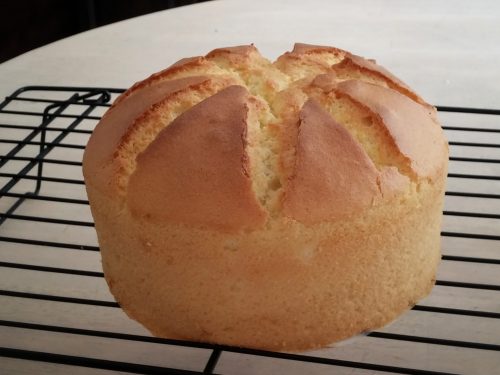
This chiffon cake is based on my Vanilla Chiffon Cake recipe. I omitted the vanilla bean paste and flavored it with maple syrup and round cake pan instead of tube pan was used. The cake was not served upside down so in order to develop a nice crack on top, I cut the surface open with a knife after 10 minutes of baking. After baking the cake rose higher than the height of the pan, I inverted it over a stainless steel strainer to cool so that it wouldn’t be squished and take on the marks or the cooling rack.
這款蛋糕變化自雲尼拿戚風蛋糕,EC減去雲尼拿醬改用楓糖漿調味及使用普通圓模而非中空模。蛋糕不是反轉上碟吃的,為了令蛋糕表面裂紋漂亮些,入焗十分鐘後可取出蛋糕用刀在表面劃上幾刀。焗起後蛋糕高出模邊,若在鋼架上倒扣便會按扁蛋糕並形成一條條壓痕,所以EC把蛋糕連模反轉倒扣在不銹鋼篩子上放涼。
Maple Chiffon Cake
楓糖戚風蛋糕
For 6 by 3 inch round pan with removable base
6×3寸活底圓模份量
Ingredients
60 g cake and pastry flour
3 egg yolks, large
35 g grapeseed oil
20 g milk
25 g maple syrup
3 egg whites, large
20 g granulated sugar
1/3 tsp cream of tartar
Notes: The eggs I use are about 50 g each without shells.
材料
低筋麵粉 60克
大蛋蛋黃 3個
葡萄籽油 35克
牛奶 20克
楓糖漿 25克
大蛋蛋白 3個
細砂糖 20克
他他粉 1/3茶匙
註:EC用的大蛋每隻淨重約50克
Directions 做法
Separate the eggs and place the egg whites In a clean mixing bowl (I usually wipe the bowl and the wire beater with paper towel and vinegar or lemon juice to remove traces of grease). Line bottom of pan with parchment paper round. Preheat oven to 325ºF/160ºC.
分開蛋白和蛋黃,放蛋白的攪拌盆必需是清潔的(EC習慣把攪拌盆及打蛋器配件預先用廚房紙沾檸檬汁或白醋抹一次去除殘餘油份),模具底部放牛油紙,焗爐預熱325ºF/160ºC。
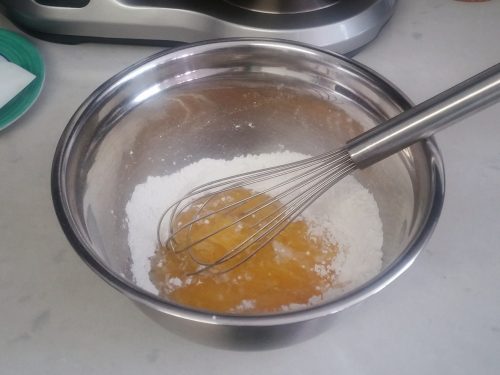
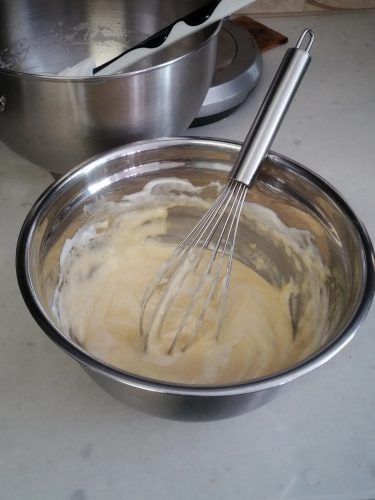
Sift flour into another large mixing bowl and make a well in the center. Add oil, milk, egg yolks and maple syrup to the well and whisk gently until combined. Set aside.
麵粉過篩放入另一攪拌盆中,將粉往周圍撥成粉牆狀,將油、牛奶、蛋黃及楓糖漿倒進粉牆中央,輕手用蛋拂攪拌成蛋黃糊備用。

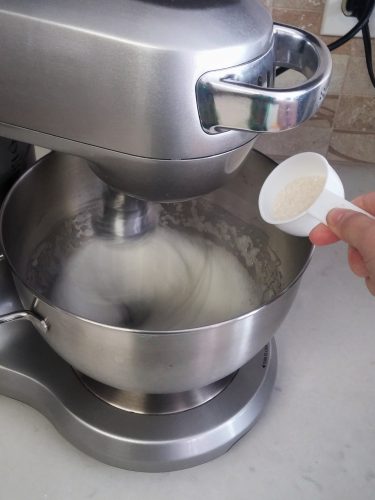
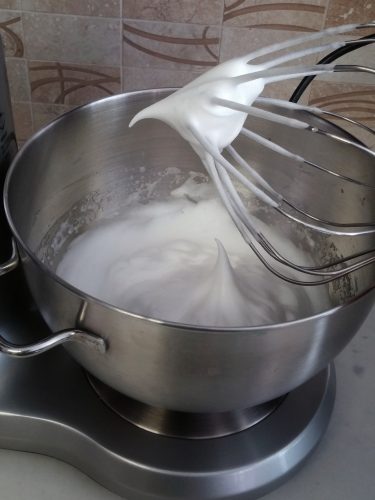
Whip egg whites with a hand mixer or a stand mixer fitted with the whisk attachment until foamy. Add cream of tartar (to stabilize the meringue) and continue beating until soft peaks form. Then slowly add sugar in batches and continue beating until glossy and firm peaks form. When you lift up the whisk, the peak will hold its shape but the tip will fall back slightly.
用電動打蛋器或座檯攪拌器(使用打蛋器配件)將蛋白打至起粗泡,加入他他粉繼續打至泡泡變細密,分次加糖打至企身,蛋白霜拉起時呈尖長而末端輕微下垂狀(接近乾性發泡)。
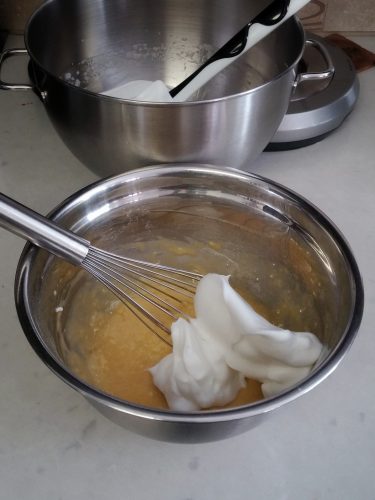
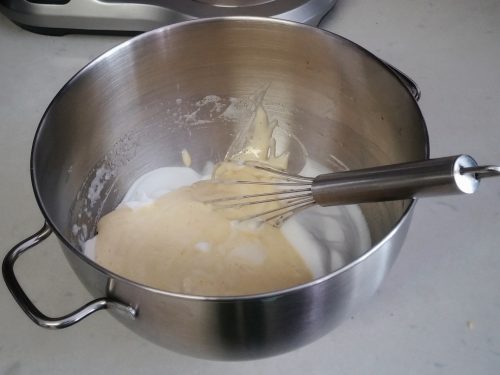
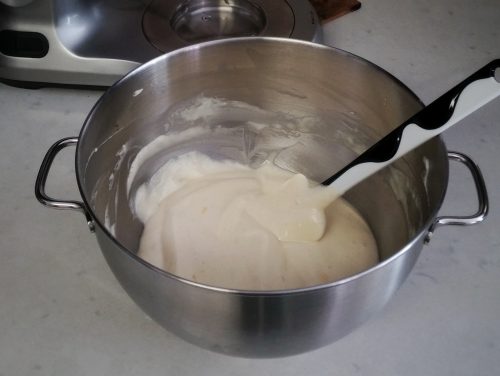
Scoop one third of the meringue to the yolk mixture and mix well to lighten. Then pour this back to the remaining meringue. Fold gently and thoroughly until homogeneous.
將三分一蛋白霜混入蛋黃糊中充份拌勻,再將麵糊倒入餘下的蛋白霜中用膠刮輕手以切拌方法混合至麵糊顔色均一。
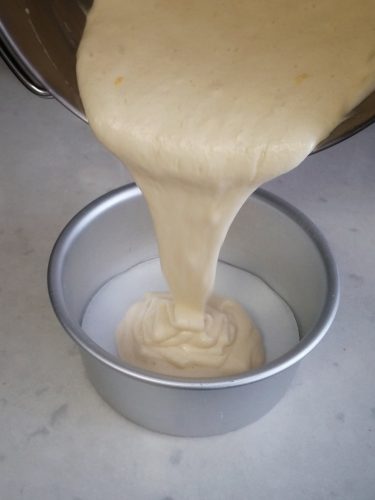
Pour batter into the pan and smooth top with a spatula. Tap cake pan against the kitchen counter several times to get rid of any large air bubbles. Bake for 10 minutes then take out the cake and make three to four vertical slits (like an asterisk sign) on the cake surface with a greased knife. Continue baking in the oven until a wooden skewer inserted into the center of cake comes out clean, about 20 to 25 minutes more for my oven. Adjust baking time accordingly as every oven is different.
將麵糊倒入模中,抹平表面後將模往枱上敲幾下敲出較大的氣泡,放入焗爐焗10分鐘,取出用抹了油的刀在蛋糕表面像畫星般垂直切三至四刀,放回爐中繼續焗至竹籤插入蛋糕中央取出不沾麵糊,EC家中焗爐約需多焗20-25分鐘,不同焗爐可能要不同時間,請自行調節。

Invert pan (I placed it over a large strainer) to cool before unmolding.
取出倒扣放涼後可脫模食用,EC把模倒扣在不銹鋼篩子上。
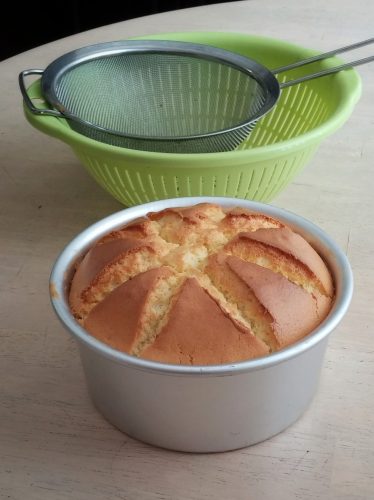
Below is a demonstration of unmolding cake without any tools. The cake releases itself easily from the sides of the pan with the help of gravity.
以下是徒手脫模示範,只靠地心吸力已可令蛋糕離邊了!
If you want to republish this recipe, please link back to this post.
版權所有,如需引用,請註明出處
EC Bakes 小意思 Facebook 專頁 www.facebook.com/ECBakes
© Copyright 2017 ecbakes.com

Leave a comment