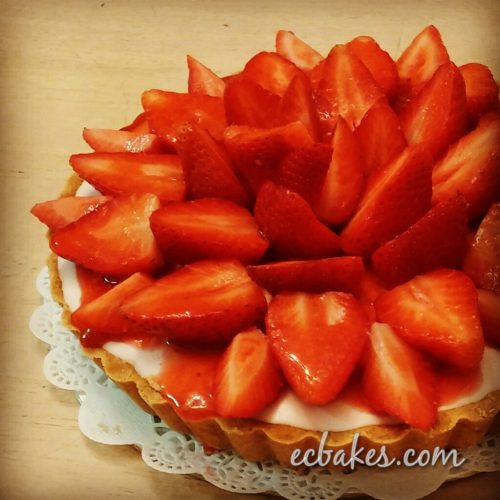
We had a gathering with friends at my house two days ago but there wasn’t much time for dessert preparation. I decided to make a no-bake cheesecake tart for my guests as a celebration for my friend’s belated birthday. This 7.5-inch tart was divided among 8 adults and 5 kids and apparently this didn’t quite satisfy our needs. Fortunately, the preparation is so simple that if we have future cravings for the same dessert, it can be done in a jiffy. No-bake desserts are so quick and easy to prepare. If you own a blender or food processor things will be even more straightforward. The recipe I’m sharing below shares some similarities with my other strawberry desserts in its components (read about my blog posts No Bake Strawberry Cheesecake and Chocolate Strawberry Cheesecake Dome). The main difference is that this time I’ve turned my strawberries into coulis before mixing into my filling. Coulis has a much more vibrant color and concentrated flavor. When smothered with a layer of strawberry pieces and drizzled in coulis, the tart is fully loaded with strawberry flavor. It is so visually appealing that it could be an eye catcher of the night!
前晚家中舉行聚會,EC沒有足夠時間預備甜品,匆忙間便做了這個免焗芝士撻,也順道替友人補祝生日。八位成人與五位小孩瓜分一個7.5寸的芝士撻實在是有點兒“到喉唔到肺“的。幸好這個撻做法十分簡單,下次想再吃時也不用大費周章。免焗甜品真的十分方便,加上配合攪拌機或食物處理機的使用,製作過程更是事半功倍。這個芝士撻與之前的士多啤梨芝士凍餅及朱古力士多啤梨乳酪芝士脆皮蛋糕成份很相似,唯一不同之處是EC把士多啤梨煮成醬汁(coulis)後才加入餘下芝士餡材料中。士多啤梨經過烹煮後顏色特別鮮艷,味道也變濃,芝士撻以士多啤梨片裝飾後再淋上醬汁,不但整個撻充滿着士多啤梨的芳香,而且也頓時變得很吸睛。
For a firm and solid crust, the trick is to crush the biscuits finely. It is best to grind them into powder with a food processor. If crushing by hand, try to work the crumbs through a strainer to eliminate bigger chunks. Also, make sure to tamp down the crust with the back of a spoon or the bottom of a glass. This will firmly pack the crumbs together, resulting in a very solid base. If time permits and you would like to bake your own crunchy and buttery pie crust, feel free to check out my other blog post Pumpkin Pie.
撻底方面,要做到結實不易碎的撻底,首要秘訣是餅乾必定要壓得很碎很碎,最佳方法是用機直接把餅乾打成粉末,只用手壓的話則可把餅碎過篩確保沒有大顆粒。其次就是鋪好餅碎後要用匙羹背或小杯將餅底像打樁般緊緊的壓實,這樣做餅底便最牢固最好吃了!倘若時間充裕可考慮自己焗製鬆脆並充滿牛油香的撻底,做法請參考網誌南瓜批。
No Bake Strawberry Cheese Tart
免焗士多啤梨芝士撻
For 7. 5-inch quiche pan with removable bottom
7.5寸活底批盤份量
Ingredients
For the Strawberry Coulis
200 g fresh strawberries (hulled and quartered)
1-1/2 Tbsp granulated sugar (I used organic cane sugar)
2 tsp lemon juice
For the Tart Shell
150 g marie biscuits
55 g unsalted butter, melted
For the Filling
120 g cream cheese, softened
60 g strawberry coulis
60 g plain yogurt
35 to 50 g granulated sugar (I used organic cane sugar,adjust sweetness to taste)
120 g whipping cream
5 g (1-2/3 tsp) powdered gelatin
25 g milk or water
For Garnish
Fresh strawberries, hulled and halved
Strawberry coulis
材料
士多啤梨醬
新鮮士多啤梨(去蒂及切塊) 200克
細砂糖 1-1/2湯匙(EC用有機蔗糖)
檸檬汁 2茶匙
撻底
瑪利餅 150克
無鹽牛油溶液 55克
芝士餡
忌廉芝士(室溫放軟) 120克
士多啤梨醬 60克
原味乳酪 60克
細砂糖 35-50克 ((EC用有機蔗糖,可依個人喜好調整甜度)
淡忌廉 120克
魚膠粉 5克 (1-2/3茶匙)
牛奶或水 25克
表面裝飾
新鮮士多啤梨(去蒂及切半) 適量
士多啤梨醬 適量
Directions 做法
For the Strawberry Coulis 士多啤梨醬
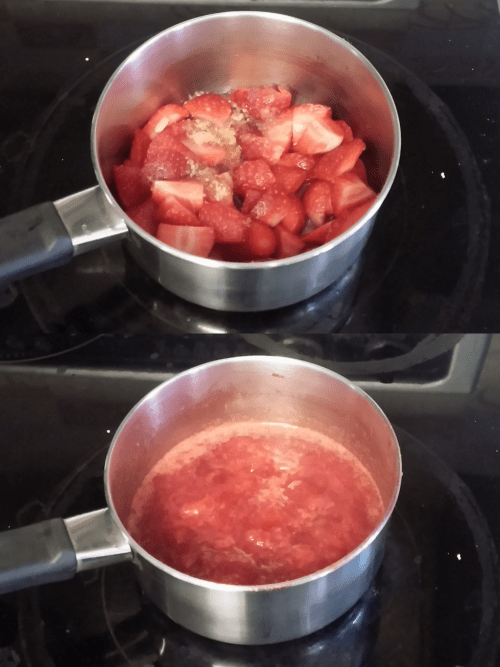
Wash and pat dry strawberries then cut into pieces. Place strawberries, lemon juice and sugar in a saucepan. Bring to a boil then simmer on low, stirring occasionally, until the strawberries are softened and mixture is syrupy, 5 to 8 minutes. Remove from heat. Strain mixture into a bowl to remove the seeds. Set aside to cool.
士多啤梨洗淨抹乾後切塊,與檸檬汁及糖一起放入小鍋中,煮滾後轉小火邊煮邊間中攪拌至士多啤梨汁液釋出及軟爛,約五至八分鐘,離火後過篩去籽,放涼備用。
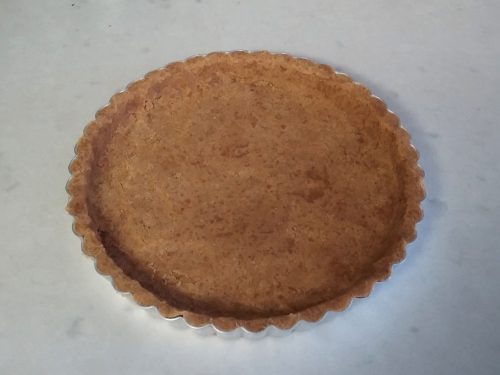
For the Tart Shell 撻底
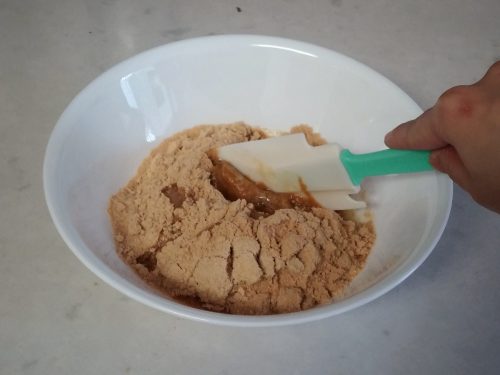
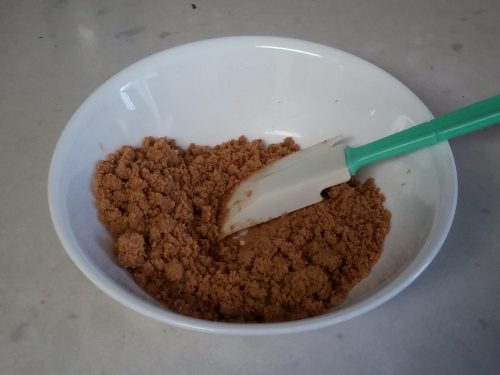
In a large bowl, combine biscuit crumbs (I processed the biscuits with a food processor until finely ground) and melted butter. Mix until evenly moistened. Press mixture firmly into the bottom and sides of the quiche pan with the back of a spoon. Chill in refrigerator for 15 minutes or until firm.
把餅碎(EC用食物處理器將瑪利餅打成粉末)及牛油溶液放在大碗中拌勻,倒進撻模內用匙羹背把餅碎鋪平及緊緊壓實於撻底及模邊,冷藏15分鐘或至硬身備用。
For the Filling 芝士餡
Chill mixing bowl and the whisk attachment of the hand mixer in the freezer for 5 to 10 minutes before start.
鋼盆及打蛋器配件預先放冰箱五至十分鐘雪凍備用。
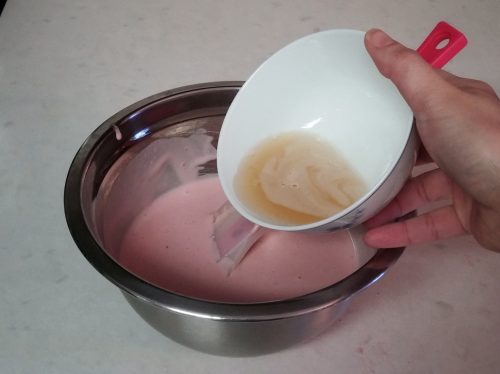
Bloom gelatin by mixing it with milk or water then set aside for 5 minutes. Warm mixture in the microwave or sit the bowl in hot water until gelatin liquefies. Set aside.
小碗內放魚膠粉和水或牛奶拌勻,靜置五分鐘至魚膠粉發漲,隔熱水坐溶或放微波爐叮溶備用。
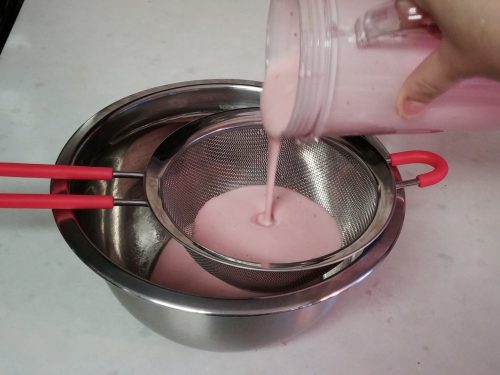
With a food processor or blender, process cream cheese, yogurt, strawberry coulis and sugar until smooth then pour into a mixing bowl. For a silkier texture, strain mixture through a sieve. Stir in the gelatin mixture until incorporated.
忌廉芝士、乳酪、士多啤梨醬和糖放入攪拌機或食物處理器打滑後倒在鋼盆中(過篩一次可令口感更加幼滑),加入魚膠溶液充份拌匀備用。

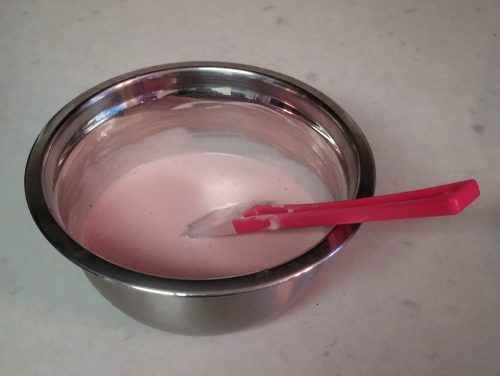
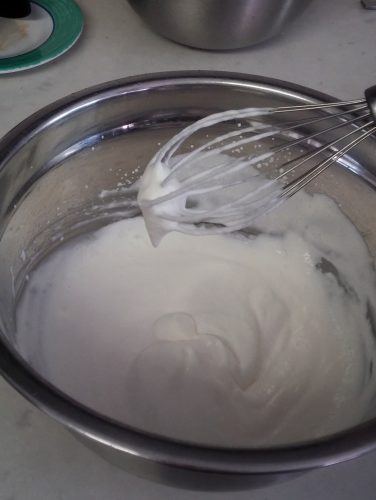
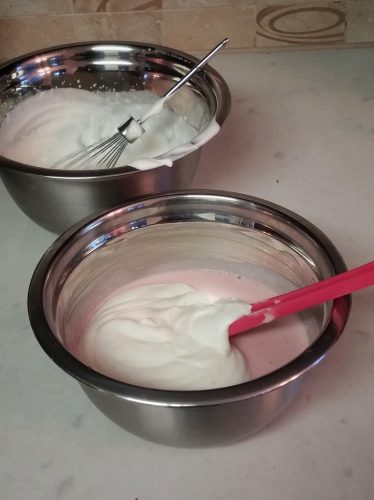
In the chilled mixing bowl, beat whipping cream until thickened and soft peaks form. Fold whipped cream into the cream cheese mixture in two batches until homogeneous.
淡忌廉放在己雪凍的鋼盆中用電動打蛋器打至稠身及軟勾狀,分兩次加入芝士糊中用膠刮以切拌方法拌至顔色均一。
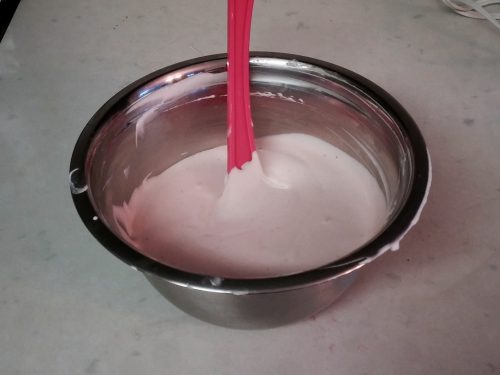
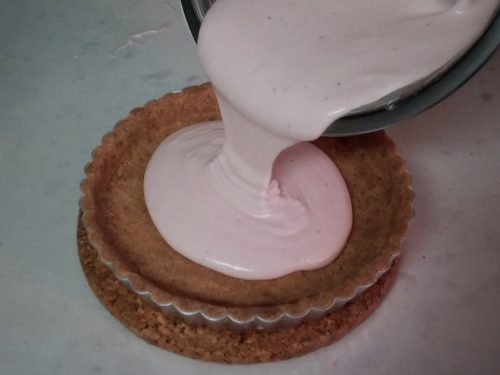
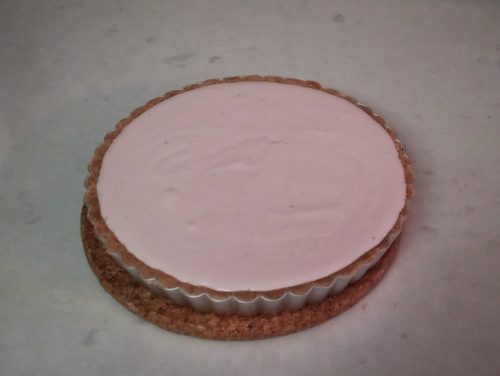
Remove pan from fridge and pour batter over the chilled crust. Tap pan on the countertop several times to remove any large air bubbles then smooth top. Refrigerate until firm.
從雪櫃取出撻模,倒入芝士糊,輕敲幾下釋出大氣泡,抹平表面後放入雪櫃雪實。
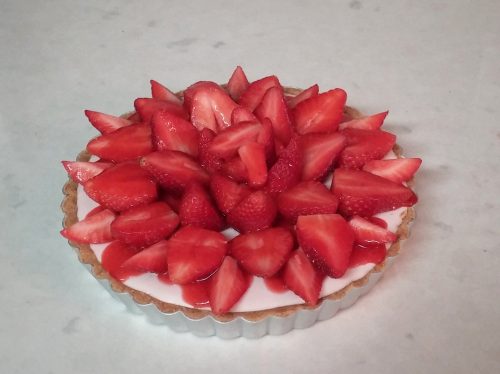
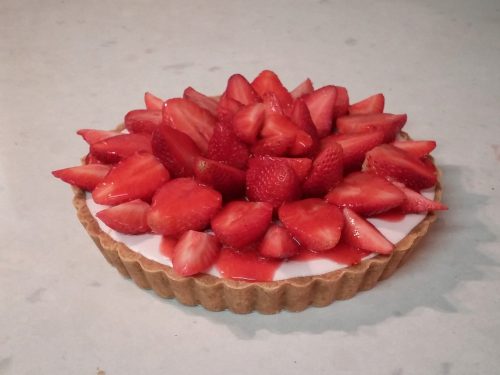
Remove chilled tart from the fridge. Arrange strawberry pieces on top then drizzle with remaining coulis. Unmold tart and serve.
從雪櫃取出撻模,放上士多啤梨裝飾後淋上餘下士多啤梨醬,脫模後即可享用。
If you want to republish this recipe, please link back to this post.
版權所有,如需引用,請註明出處
EC Bakes 小意思 Facebook Page: www.facebook.com/ECBakes
© Copyright 2017 ecbakes.com

Leave a comment